How to Transfer Data from One iPhone to Another: A Complete Step-by-Step Guide
Upgrading to a new iPhone is exciting — the improved camera, faster processor, and sleek design all promise a better experience. But before you can enjoy your new device, you’ll need to transfer data from one iPhone to another.
Whether you’re moving from an old iPhone to the latest iPhone 16 or helping someone switch devices, the process of data transfer is crucial. It ensures that all your photos, contacts, apps, messages, and settings are seamlessly carried over to your new iPhone without losing valuable information.
This comprehensive guide explains how to transfer data from one iPhone to another using several methods — including Quick Start, iCloud, iTunes, Finder, and third-party tools — so you can choose the best approach for your situation.
How to Transfer Data from One iPhone to Another
Understanding iPhone Data Transfer
Before we dive into the steps, let’s clarify what “transferring data” really means.
When you move data from one iPhone to another, you are essentially copying user data, system preferences, app information, media files, and Apple ID settings from the source device to the destination one.
Apple offers multiple built-in ways to do this:
Quick Start: Direct wireless transfer between iPhones.
iCloud Backup: Uses Apple’s cloud service to restore data.
iTunes or Finder: Transfers data via a wired computer connection.
Each method has its advantages depending on your Wi-Fi speed, storage capacity, and available equipment.
How to Transfer Data from One iPhone to Another
Method 1: Transfer Data Using Quick Start (Wireless & Direct Transfer)
What is Quick Start?
Quick Start is Apple’s easiest and most efficient way to set up a new iPhone. It allows you to transfer data directly from one iPhone to another wirelessly using Bluetooth and Wi-Fi.
Requirements:
Both iPhones must be running iOS 12.4 or later.
Both devices must be near each other.
Wi-Fi and Bluetooth must be enabled on both phones.
Steps:
Turn on your new iPhone and place it close to your old one.
A Quick Start screen will appear on your old device, offering the option to set up the new iPhone using your Apple ID.
Confirm your Apple ID, then follow the on-screen instructions.
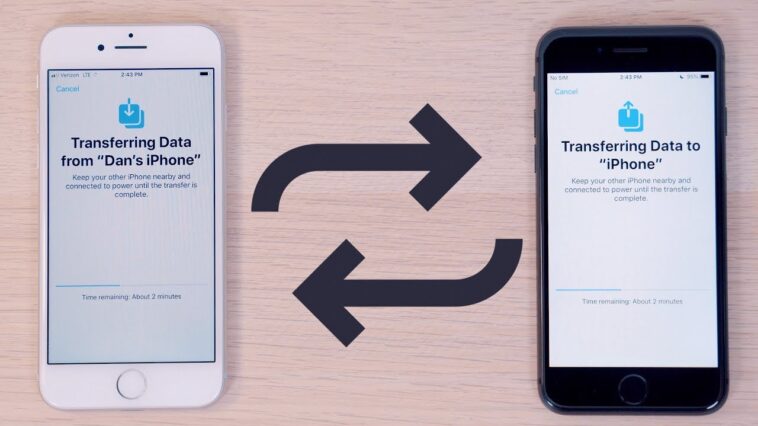
You’ll see an animation appear on your new iPhone. Use your old device’s camera to scan it.
Wait until the setup process completes.
Choose “Transfer from iPhone” to start the direct data transfer.
Keep both devices close to each other until the transfer finishes.
Advantages:
Simple and fast (especially with Wi-Fi 6 or newer).
Transfers almost everything, including app data and settings.
No need for iCloud storage space.
Disadvantages:
Both devices must remain powered and near each other.
Can take longer if you have a large amount of data.
How to Transfer Data from One iPhone to Another
Method 2: Transfer Data Using iCloud Backup
If you prefer to back up your old iPhone to the cloud first, you can use iCloud Backup to transfer data from one iPhone to another. This is especially useful if you don’t have both devices with you at the same time.
Requirements:
A stable Wi-Fi connection.
Enough iCloud storage space to hold your backup.
Steps to Back Up Your Old iPhone:
Connect your old iPhone to Wi-Fi.
Go to Settings → [Your Name] → iCloud → iCloud Backup.
Tap Back Up Now and wait for the backup to complete.
Ensure the backup is recent by checking the timestamp under “Last successful backup.”
Steps to Restore Data on the New iPhone:
Turn on your new iPhone.
On the Apps & Data screen, select “Restore from iCloud Backup.”
Sign in with your Apple ID.
Choose the most recent backup.
Wait for the restoration to finish, then complete the setup process.
Advantages:
Convenient if you don’t have your old iPhone nearby.
No need for a computer.
Data is stored securely in the cloud.
Disadvantages:
Requires enough iCloud storage (5 GB free, additional storage available via paid plans).
Dependent on Wi-Fi speed — may take hours for large backups.
How to Transfer Data from One iPhone to Another
Method 3: Transfer Data Using iTunes or Finder (Wired Connection)
For users who prefer a wired and offline method, transferring via iTunes (Windows) or Finder (macOS Catalina and later) is a reliable choice.
Steps to Back Up Old iPhone to Computer:
Connect your old iPhone to your computer using a USB cable.
Open Finder (Mac) or iTunes (Windows).
Select your device when it appears.
Click Back Up Now (select “Encrypt local backup” if you want to include passwords and health data).
Wait for the process to finish.
Steps to Restore Backup to New iPhone:
Connect your new iPhone to the same computer.
Open Finder or iTunes again.
Select your new device.
Choose Restore Backup.
Pick the latest backup and click Restore.
Advantages:
Faster than cloud transfer for large files.
Works even without Wi-Fi.
Offers complete control and local storage of backups.
Disadvantages:
Requires a computer.
Needs manual connection and restoration steps.
How to Transfer Data from One iPhone to Another
Method 4: Transfer Data Using AirDrop or Third-Party Tools
If you only need to transfer specific data (such as photos, videos, or documents), you can use AirDrop or third-party applications like AnyTrans, iMazing, or MobileTrans.
Using AirDrop:
Enable Wi-Fi and Bluetooth on both devices.
Open the file you want to share (e.g., Photos app).
Tap the Share icon → AirDrop → [New iPhone name].
Accept the transfer on the new iPhone.
How to Transfer Data from One iPhone to Another
Using Third-Party Tools:
Third-party tools provide additional flexibility — allowing you to move select data types or even transfer between iOS and Android.
Common tools include:
AnyTrans: Ideal for full iPhone-to-iPhone transfers.
iMazing: Offers backup, restore, and file management.
MobileTrans: Allows cross-platform data transfer.
Advantages:
Suitable for selective or partial transfers.
Faster for small files.
Useful for users switching between platforms.
Disadvantages:
May require paid versions for full functionality.
Not all tools are officially supported by Apple.
How to Transfer Data from One iPhone to Another
What Data Gets Transferred?
When you transfer data from one iPhone to another, the following information typically moves with you:
Contacts, calendars, and reminders.
Photos and videos.
Messages and call history.
App data and preferences.
Safari bookmarks and browsing history.
Apple Wallet data and Apple Pay setup.
Health and fitness information (if encrypted).
Device settings and layouts.
Some items like Face ID, Touch ID, and Apple Pay cards must be reconfigured manually for security reasons.
How to Transfer Data from One iPhone to Another
Troubleshooting Common Transfer Issues
Even with a straightforward process, some users face issues when transferring data between iPhones. Here’s how to solve them.
1. Transfer Takes Too Long
Ensure both devices are plugged in and connected to strong Wi-Fi.
Avoid using the phones during transfer.
For large backups, consider using a wired connection.
2. Not Enough iCloud Storage
Delete old backups or upgrade your plan under Settings → iCloud → Manage Storage.
3. Transfer Fails or Freezes
Restart both devices.
Update both iPhones to the latest iOS version.
Try using another method (e.g., from iCloud to Finder).
4. Apps Not Restored
Open the App Store and download them manually.
Ensure you’re signed in with the same Apple ID used previously.
How to Transfer Data from One iPhone to Another
Best Method: Which Should You Choose?
| Method | Ideal For | Internet Needed | Speed | Requires Both Devices? |
|---|---|---|---|---|
| Quick Start | Most users with both iPhones | Yes | Fast | Yes |
| iCloud Backup | Remote setup | Yes | Medium | No |
| Finder/iTunes | Large backups | No | Fast | No |
| Third-Party Tools | Selective data | Optional | Varies | Optional |
In most cases, Quick Start is the best and simplest method, especially when both iPhones are available. It’s fast, secure, and doesn’t require iCloud space.
How to Transfer Data from One iPhone to Another
Security Considerations During Transfer
When transferring personal data, privacy and security should always be a priority.
Ensure both devices are running the latest iOS version.
Avoid using public Wi-Fi during iCloud or Quick Start transfers.
If you’re selling or giving away your old iPhone, go to Settings → General → Transfer or Reset iPhone → Erase All Content and Settings after completing your transfer.
Always verify that Find My iPhone is turned off before resetting the device.
How to Transfer Data from One iPhone to Another
Conclusion
Learning how to transfer data from one iPhone to another is essential for a smooth upgrade experience. Whether you choose Quick Start, iCloud, Finder/iTunes, or third-party tools, Apple makes it easier than ever to migrate all your essential data securely and efficiently.
By understanding each method’s advantages, limitations, and security measures, you can ensure that your new iPhone is a perfect continuation of your digital life — complete with your photos, messages, and memories intact.
So, before you dive into exploring your new iPhone, take a few minutes to follow these steps and make your data transfer seamless and worry-free.
How to Transfer Data from One iPhone to Another